Optimal Timing for Popcorn Ceiling Removal
Timing for popcorn ceiling removal can impact the project's success and safety. Generally, the optimal period is during mild weather conditions, avoiding extreme heat or cold. This ensures proper drying and adhesion of materials, reducing the risk of issues like cracking or uneven texture. Additionally, scheduling during periods of low humidity minimizes complications related to moisture and mold growth.
Spring and fall are ideal for popcorn ceiling removals due to moderate temperatures and lower humidity levels.
Dry weather with low humidity helps prevent moisture-related problems during and after removal.
Planning removal during periods with stable weather minimizes delays and ensures safety.
Using air conditioning or heating can help maintain optimal conditions for removal regardless of season.

A professional approach involves careful preparation and proper techniques to ensure a smooth removal.
Specialized tools and protective gear are essential for safe and effective popcorn ceiling removal.
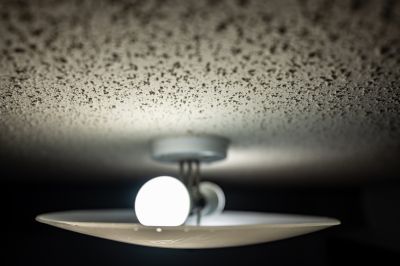
Transforming ceilings from textured to smooth enhances interior aesthetics.
Ways to make Popcorn Ceiling Removals work in tight or awkward layouts.
Popular materials for Popcorn Ceiling Removals and why they hold up over time.

Simple add-ons that improve Popcorn Ceiling Removals without blowing the budget.
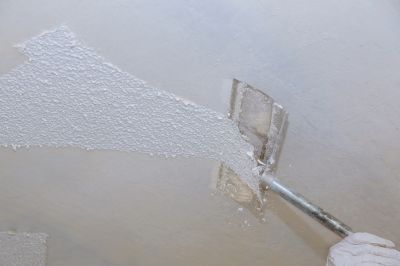
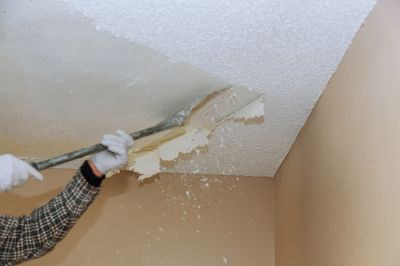
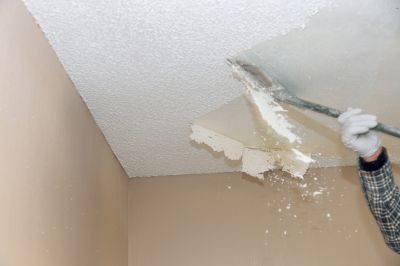
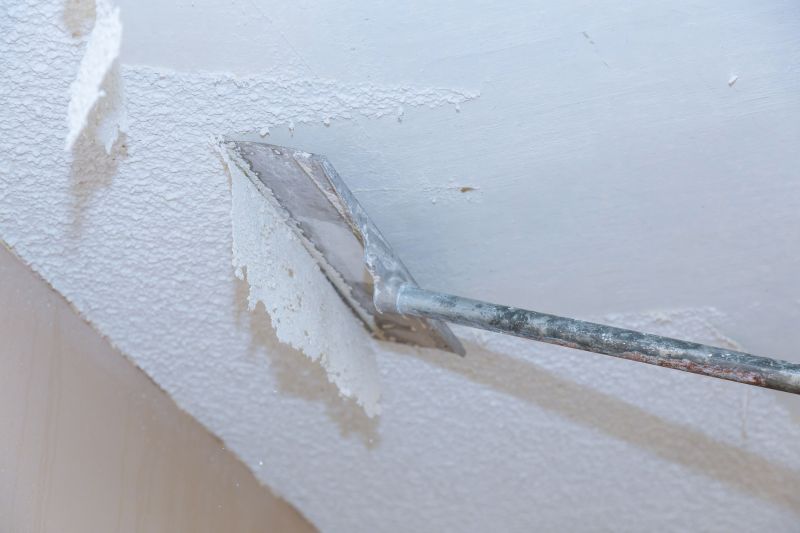
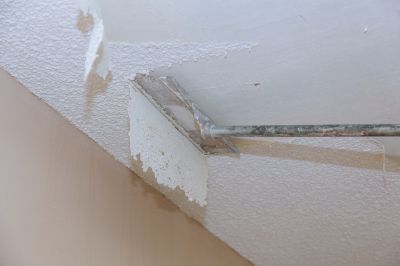
Popcorn ceiling removal is a process that involves stripping away textured ceiling finishes to achieve a modern, smooth surface. This task is often undertaken to improve interior aesthetics or to address issues such as asbestos content in older textures. The removal process requires careful preparation, including testing for hazardous materials, proper containment, and cleanup. Proper timing can influence the ease of removal and the quality of the finished ceiling.
Statistics indicate that popcorn ceilings were most popular from the 1950s through the 1980s. Many homes built during this period contain textured ceilings, some of which may include asbestos, making professional removal essential for safety. The removal process can take from a few hours to several days depending on ceiling size and texture complexity. Proper planning and timing can help ensure a smooth and safe renovation experience.

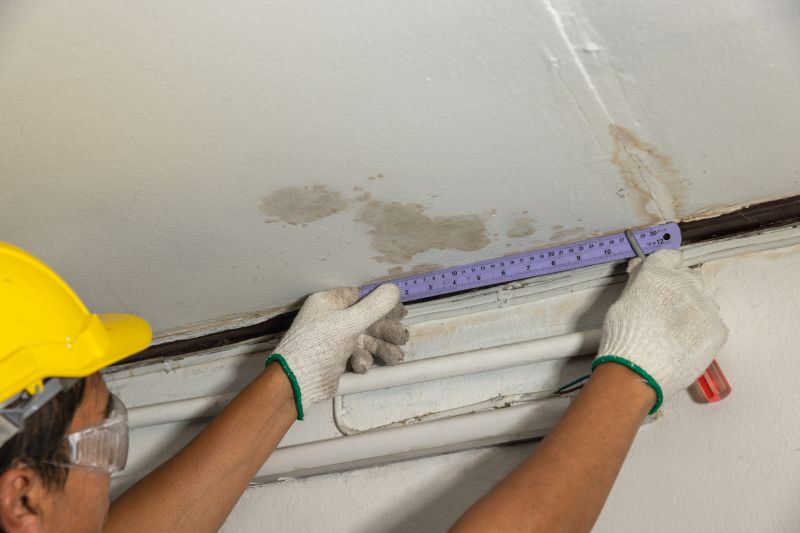
Preparing the space properly helps prevent damage and ensures safety during removal.

Older popcorn textures should be tested for asbestos before removal begins.
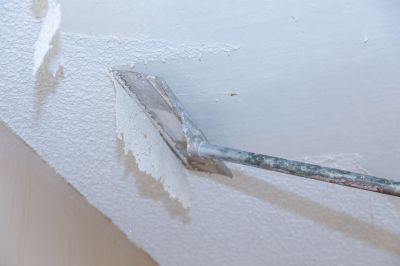
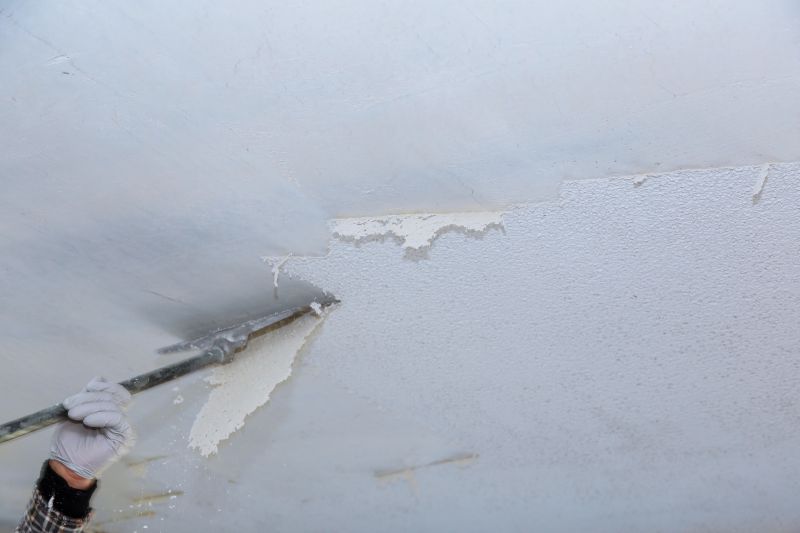
Professional methods include wet scraping and specialized tools to minimize dust.

Sanding, priming, and painting complete the transformation to a smooth ceiling.
High-end options that actually feel worth it for Popcorn Ceiling Removals.
Finishes and colors that play nicely with Popcorn Ceiling Removals.
Little measurements that prevent headaches on Popcorn Ceiling Removals day.
A 60-second routine that keeps Popcorn Ceiling Removals looking new.
| Aspect | Details |
|---|---|
| Ideal Seasons | Spring and fall are recommended for optimal conditions. |
| Weather Factors | Low humidity and mild temperatures facilitate removal. |
| Indoor Conditions | Control indoor climate with heating or air conditioning. |
| Project Duration | Timing can influence the length and complexity of the removal. |
| Safety Precautions | Testing for hazardous materials is essential before removal. |
| Material Content | Older ceilings may contain asbestos, requiring professional handling. |
| Preparation Needed | Clear the area and cover furniture to protect from dust. |
| Post-Removal Cleanup | Thorough cleaning ensures safety and a quality finish. |
Interested in popcorn ceiling removals? Filling out the contact form can provide more information and help schedule a professional service tailored to specific needs. Proper timing and preparation are key to achieving a successful renovation, ensuring a safe and aesthetically pleasing result.